
Unfortunately, they're expensive and not all that unique. Now, if you have a boring, run of the mill dad then that might be fine, but my dad is responsible for some of my best party stories, so one of those wasn't good enough.

Materials:

1. Two kinds of fabric. 1/4 yard of each should do it.
2. Scissors.
3. Rotary cutter (you can also just use scissors)
4. Measuring device of some kind.
5. Rotary cutting mat.
6. Utility knife.
7. Roll of adhesive craft magnet.
8. Square (optional but handy)
9. Embroidered letters for monogramming.
10. Tablet, or if you don't have the tablet, a cardboard mock-up as a template.
11. Chalk for marking.
12. Elastic (optional-I didn't end up using it).
13. Vinyl floor tiles. These go for between 35 and 99 cents each at home improvement stores, depending on how rigid they are. You decide what works best for you.
14. Sewing machine and matching thread.
16. Iron and ironing board.
Assembly:
1. Measure your tablet. If you're making it as a gift and don't have the tablet, make a cardboard template.
2. Cut four pieces of fabric 1.5-2 inches larger than your tablet, two pieces with a length that matches the pieces you just cut and a width about 2/3 of what you just cut, and four squares about 1/4 the size of your first four pieces. The color combo is up to you, but you can see how these are laid out below (pieces are numbered for future reference):

3. Cut your squares in half diagonally to form 8 triangles. Place the triangles right sides together and stitch according to the diagrams below:

4. Press the seams open, then fold wrong sides together and press flat.

5. Pin the triangles in place on piece #3, right sides up. If you want to use elastic along the edges for extra tablet security, pin that in place now.

6. Lay out your odd numbered pieces as shown below. Stitch 1 to 3 and 3 to 5, RIGHT SIDES TOGETHER.

7. Press the seams open.

8. Repeat steps 6 and 7 using your even numbered pieces.
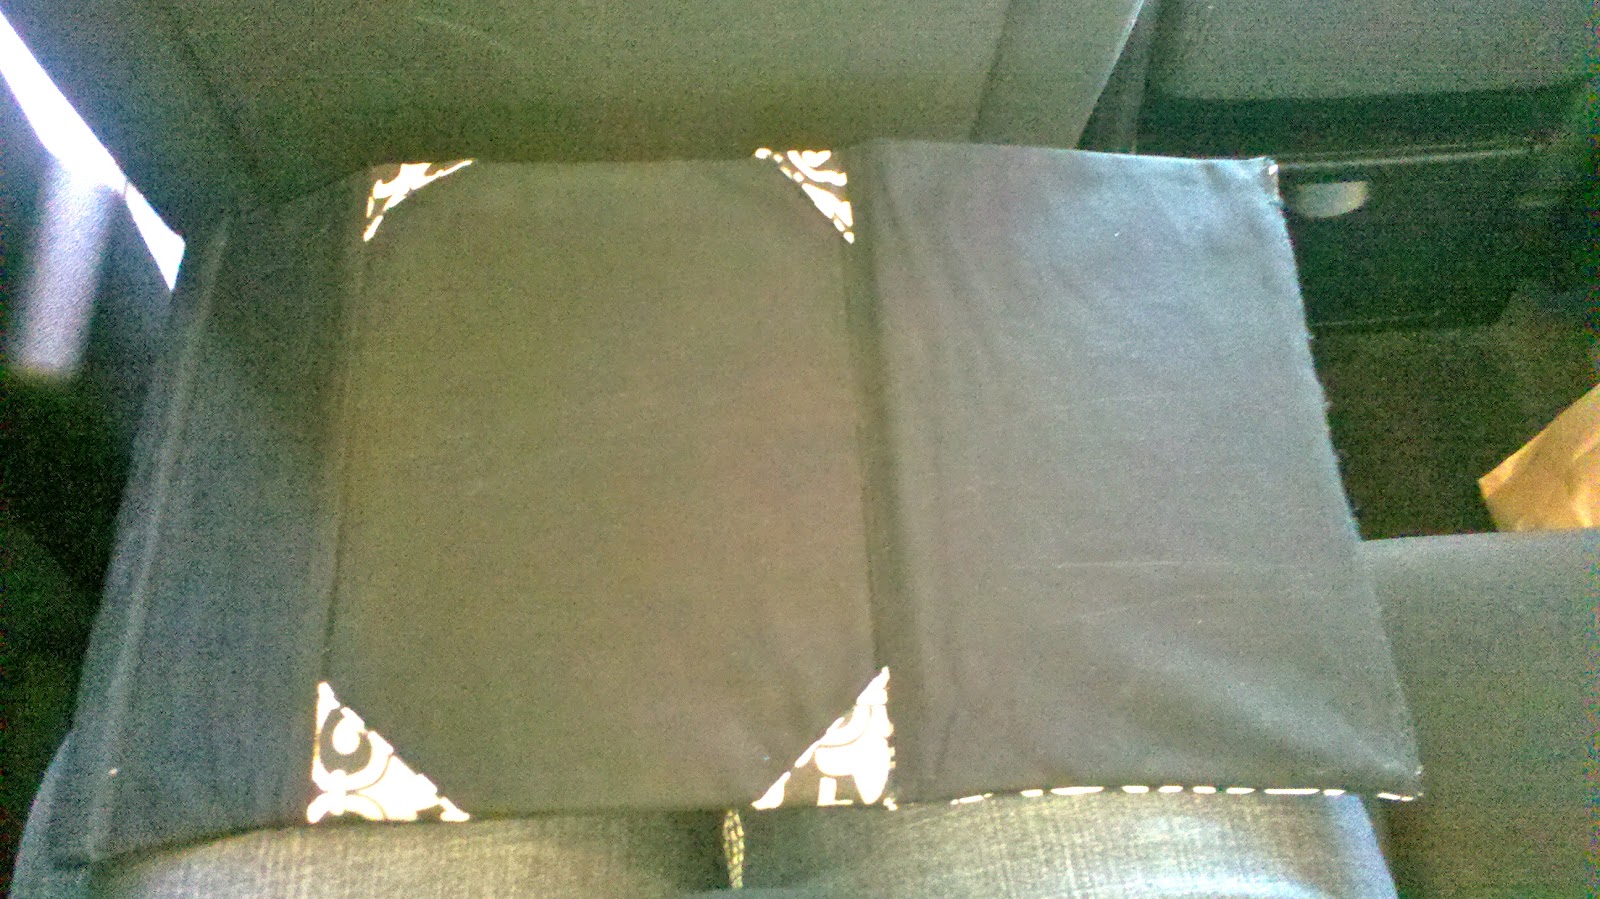
9. You now have two sides that look the same except for the corner pieces. Place them RIGHT SIDES TOGETHER and stitch 3 sides. Leave the top side open.

10. Clip your corners and turn right side out. You might need to poke the corners out. You should now have something that resembles a pillowcase.
10. Measure how large each of your 3 sections are and subtract 1/4 inch from both the length and the width. Cut your vinyl floor tiles to those measurements. (To cut a vinyl floor tile, just score it with your utility knife and then bend it to "break" it. It's extremely easy. Leave the paper backing in place, because they're hard to handle when sticky).
***UPDATE***
I made an error here. See that top section? You're actually going to use two separate vinyl pieces for that. The one nearest the end is a very narrow strip that is the same size as your magnetic strip. So you can still use your measurements, then add the magnetic strip and simply cut that section free. Does that make sense?

11. Cut magnetic strips to the length of the vinyl pieces and place them on the tiles as shown below. (Back side refers to the side you're not looking at when you can see the corner pieces).

12. Slide the bottom vinyl piece inside the case and top stitch along your previous seam between pieces 3 and 5. Slide the middle section of vinyl in and top stitch along your previous seam between pieces 1 and 3. Slide in your third section and top stitch again. A zipper foot makes this top stitching a lot easier, since the vinyl creates a sort of ridge between sections.
13. Fold over the top (not sewn) edge and press. Trust me, this makes it easier. Slide in your last piece of vinyl (the very narrow strip with the magnets on it) and stitch the top edge closed, sewing as close to the edge as possible.
15. You can fold this out into a stand, as shown below. The magnets will catch to hold everything together. And if you're worried about magnets affecting your tablet, consider that these are the magnets rated a 2 out of 10 on magnetic strength by the craft store. It's hard to get them to stick to the fridge. They'll do the job for this project, but they're probably not going to damage anything. I say probably, of course, because I'm not responsible if they do cause damage.

If you liked this tutorial, please share!
No comments:
Post a Comment